How to Evaluate Label Printer Consistency Across Batches
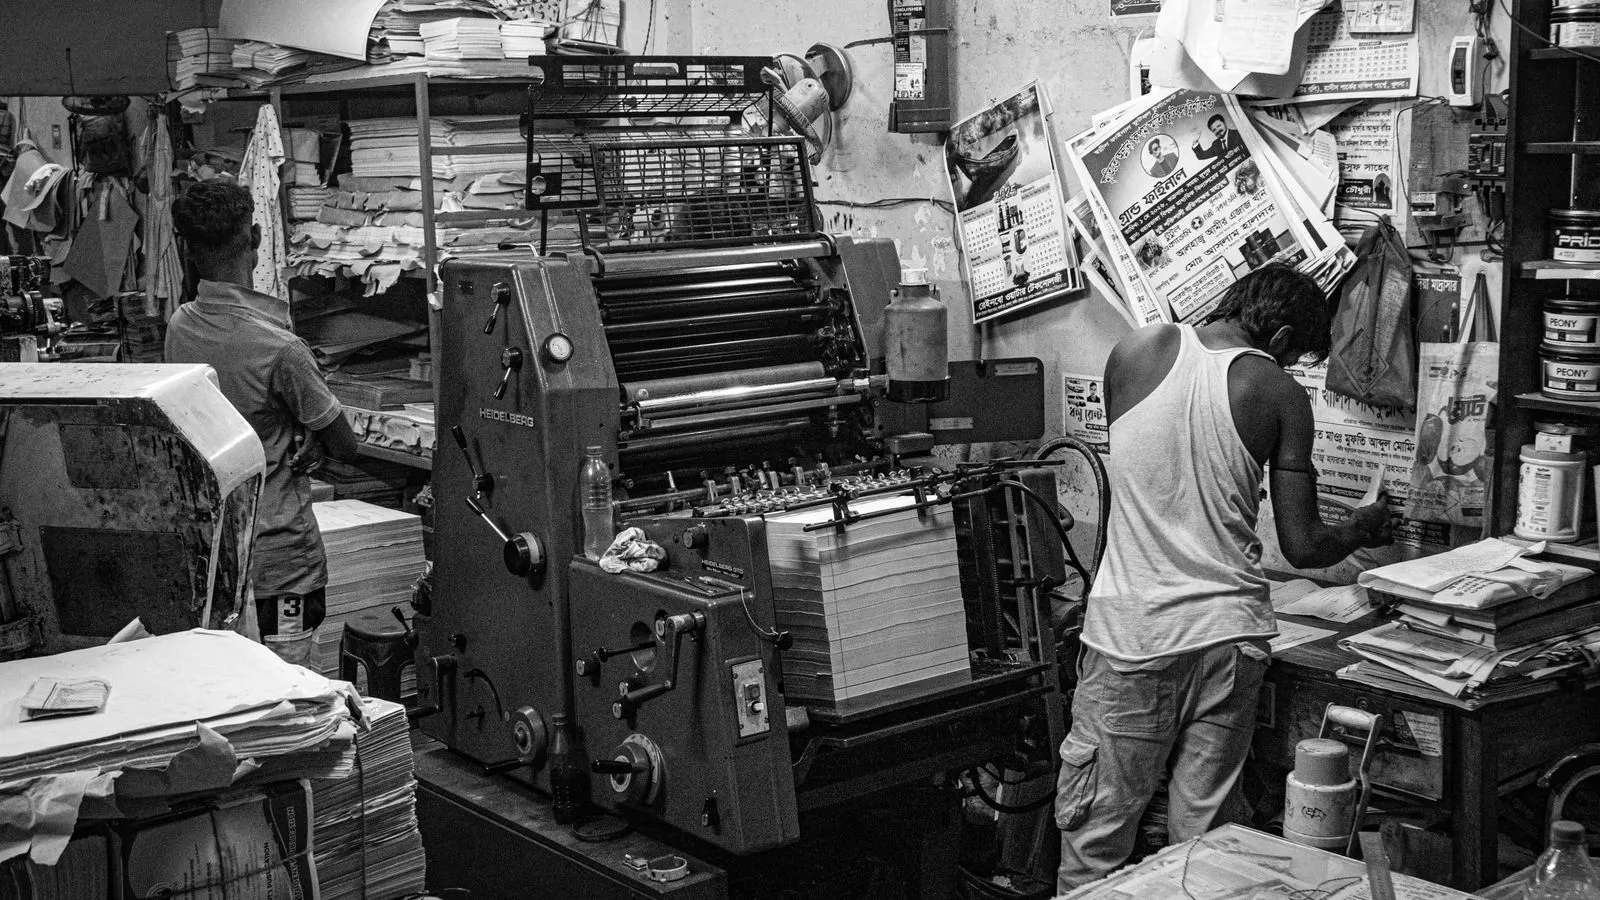
Evaluate label printer consistency by establishing baseline samples, measuring ink density, tracking substrate movement, and reviewing batch variation logs. This process ensures uniform print quality across multiple production runs from a label printer, reducing waste and maintaining brand standards.
- Establish a baseline sample from the first production run to create a reference standard for every subsequent batch.
- Measure ink density and color shift with a spectrophotometer or densitometer to detect subtle changes that the human eye misses.
- Review substrate tension and registration settings after every material change or temperature fluctuation to prevent batch variation.
- Document every adjustment, material lot, and operator note in a batch log to trace the source of quality drift.
- Perform a final verification by comparing the last roll of each batch against the baseline sample before releasing the product.
Why batch variation happens
Label printer consistency fails for predictable reasons. Ink viscosity changes as the day warms up. Substrate lots differ in coating texture. Roller wear shifts registration by a fraction of a millimeter. Each factor alone might stay within spec, but together they produce visible drift over a multi-day run.
You cannot rely on visual inspection alone. The human eye adapts quickly to a slight color shift. By the fifth roll, a label that looks fine next to the previous roll may differ noticeably from the first. That gap is where batch variation becomes a customer complaint.
The solution is not better eyes. It is a measurement system that treats every batch as a data point. You build a baseline, check against it, and correct before the drift compounds.
Prerequisites
Before you begin evaluating consistency, gather these items and conditions.
- A baseline sample from the first approved run. Store it in a temperature stable location away from direct light.
- A spectrophotometer or densitometer calibrated to your ink and substrate type.
- A copy of the original print file or a reference swatch with the exact Pantone or color code.
- A substrate lot number sheet for every roll of material used in the run.
- A batch log template with fields for ink density, registration offset, temperature, operator, and notes.
- A controlled environment. Aim for a stable room temperature and low humidity. Large swings between shifts create more variation than the press itself.
Without these, you are comparing impressions, not data. The baseline must be physically present during every check. Do not rely on a photo or a memory of how the first roll looked.
Step 1. Establish the baseline sample
Print the first roll of the run and set it aside as the reference. Do not use it as a sample for the customer. This roll defines what “correct” means for this specific job.
Take three measurements from the baseline: ink density at the target color, registration offset in horizontal and vertical axes, and substrate width or label length if applicable. Record all values in the batch log. Store the physical roll in a flat, protected location.
Reason: Every subsequent check needs a fixed point. Without a physical baseline, you are guessing whether a later roll matches the first. The baseline absorbs the press setting, ink mix, and substrate lot conditions of the opening run.
Step 2. Define your tolerance windows
Decide how much variation you will accept before calling a batch out of spec. Work with your customer or internal quality standard to set limits.
For most commercial label work, a color difference within a small Delta E range is acceptable. Registration offset is usually measured in millimeters. Substrate width tolerance depends on the application. A label for a bottle cap needs tighter width control than a shelf tag.
Write these limits into the batch log. Do not leave them implied. If the operator does not know the exact number, they will make a subjective call, and that call will drift.
Reason: Tolerance windows turn a subjective judgment into a pass or fail result. They also give you a clear trigger for intervention. When a value crosses the line, you know to stop and adjust. Without defined limits, you either overcorrect or underreact.
Step 3. Measure ink density at fixed intervals
Run the printer and take density readings at set intervals. A common approach is to measure every roll or every two rolls, whichever comes first. Use the same location on the label for every reading. The top left corner, for example, or a dedicated registration mark area.
Record the value in the batch log. Compare it to the baseline. If the reading is within tolerance, continue. If it is outside tolerance, stop the press, check the ink supply, adjust the feed, and re-measure before releasing the next roll.
Reason: Ink density changes as the ink dries in the reservoir, as rollers wear, or as the temperature affects viscosity. A small drop in density means a lighter label. A small rise means a heavier one. Both are visible to a customer even if they do not know what changed. Measuring at fixed intervals catches the shift early, while it is still cheap to correct.
Step 4. Check registration and substrate alignment
Registration drift is one of the most common causes of batch variation. The substrate moves slightly under the print head, and the image shifts relative to the label edge. This shows up as a misaligned logo, a cut-off border, or a color that looks thinner on one side.
Check registration at the same intervals as density. Measure the offset in horizontal and vertical directions. Compare to the baseline. If the offset is outside your tolerance, adjust the substrate guide or the press registration mechanism. Re-print a test strip before returning to production.
Reason: Substrate movement is not always caused by the press. It can come from a change in material lot, humidity swelling the web, or a worn guide pin. By measuring registration separately from color, you can isolate the cause. If color is stable but registration is off, the problem is mechanical, not ink-related.
Step 5. Track material lot changes
Every roll of substrate comes from a specific lot. Different lots from the same supplier can vary in thickness, coating, and stiffness. When you switch lots mid-run, the press behavior changes even if the settings stay the same.
Record the lot number in the batch log at the moment of change. Take a new density and registration reading after the first roll of the new lot. Compare it to the baseline. If the values have shifted, adjust the press before continuing.
Reason: A lot change is a reset point. The material properties are no longer the same, so the previous baseline no longer fully applies. By re-checking after each change, you catch the drift immediately. Without this step, a subtle lot difference accumulates across ten rolls and looks like a press failure.
Step 6. Review temperature and humidity
Press performance changes with ambient conditions. Ink dries at a different rate in a cold room. Substrate expands or contracts with humidity. If your facility has no climate control, or if the temperature shifts between day and night shifts, expect more variation.
Record the room temperature and humidity at the start of each shift and after any major change. Include these values in the batch log. If you notice a pattern where drift correlates with temperature, consider adding a controlled heating or dehumidifying unit near the press.
Reason: Environmental factors are invisible in the final label but real in the process. If you do not track them, you cannot separate a true press problem from a room problem. This step helps you decide whether the fix is a press adjustment or a facility correction.
Step 7. Conduct a final verification against the baseline
Before releasing the last roll of the batch, take a final reading of ink density and registration. Place the last label directly next to the baseline sample. Compare them side by side in the same lighting.
If the values are within tolerance and the visual match is acceptable, release the batch. If either check fails, hold the entire batch. Do not release partial rolls. A batch is a unit. Mixing in a few “good” rolls with a few “bad” ones creates the same customer problem as sending only bad rolls.
Reason: The final verification catches late-run drift that the interval checks missed. Ink can thin over a long run. Rollers can wear into a new offset. The last roll is the one that most likely to deviate. By checking it against the physical baseline, you confirm that the whole batch is uniform, not just the middle section.
Common mistakes
- Using a photo of the first roll as the reference instead of keeping the physical sample.
- Measuring density at different points on the label for each check, which introduces position error.
- Ignoring lot changes and assuming the press setting stays the same across different substrate materials.
- Setting tolerance windows too wide, so batch variation passes but still shows up in customer feedback.
- Skipping the final verification and releasing the batch based on the last interval check.
- Blaming the press when the substrate lot changed. Always check the log before adjusting the machine.
- Recording data in a notebook instead of a structured log, which makes trend analysis impossible.
- Correcting the press without documenting the change, so the same fix is repeated by the next operator.
Verification table
Use this table structure in your batch log. Fill it out for every roll or interval check.
| Check Item | Baseline Value | Current Value | Tolerance Limit | Pass / Fail | Notes |
|---|---|---|---|---|---|
| Ink Density | 1.45 | 1.48 | 1.40 to 1.50 | Pass | Stable |
| Horizontal Registration | 0.0 mm | 0.2 mm | 0.0 to 0.3 mm | Pass | Slight drift |
| Vertical Registration | 0.0 mm | 0.1 mm | 0.0 to 0.3 mm | Pass | Stable |
| Substrate Width | 60.0 mm | 60.1 mm | 59.8 to 60.2 mm | Pass | Lot change applied |
| Ambient Temperature | 22 C | 24 C | 20 to 26 C | Pass | Day shift |
Final verification step
The final step is not a measurement. It is a decision. After you have filled the table for the last roll, review the entire log for the batch. Look for trends, not just single values. If density dropped slowly over ten rolls, the ink supply may need cleaning. If registration shifted only after a lot change, the guide pins may be worn.
Sign the batch log. Attach it to the customer invoice or internal quality file. If the customer later reports a quality issue, the log is your defense. It shows you measured, corrected, and verified. It also shows you did not guess.
That documentation is part of label printer consistency. The press may print a uniform roll, but the process is what protects the next one. Without the log, the next operator starts from zero. With the log, the next run begins with the previous run’s lessons already applied.
When to send a sample to the customer
Do not wait for a complaint. Before shipping a large batch, send one sample roll to the customer for approval. This is especially important for new substrates, new inks, or long production runs over several weeks.
The customer sees the label in their application, on their shelf, in their packaging. What looks acceptable on your press may not look acceptable on their shelf. A sample approval closes the loop. It confirms that your tolerance windows match their acceptance criteria.
If the customer rejects the sample, the batch log shows you exactly what you measured. You can adjust and re-run. Without the log, you are arguing about impressions.
Adapting the process for different label types
The steps above apply to most thermal transfer and direct thermal label printers. For specialty applications, adjust the focus.
- Shrink labels: Check shrink dimensions after the heat application. A label that fits the bottle before shrinking may not fit after.
- Food labels: Verify ink adhesion with a rub test. Batch variation here shows up as smudging, not just color shift.
- Pharmaceutical labels: Registration tolerance is tighter because barcode scanning requires precise alignment. Measure barcode contrast in addition to color.
- Outdoor labels: Check UV resistance over time. A label that looks correct on day one may fade unevenly by day thirty.
The core method stays the same. Baseline, measure, compare, correct, verify. The specific checks change to match the label’s function.
Building a long-term consistency record
Keep the batch logs for every job. After a season of production, review the data. Look for patterns. Does a specific supplier lot always cause drift? Does the press need cleaning more often in summer? Does one operator’s batch log show tighter tolerances than another’s?
These patterns are your real quality improvement data. They tell you where to invest. A worn roller, a poor substrate lot, or an operator who needs retraining are all visible in the log if you keep it.
Label printer consistency is not a single event. It is a habit. You set the baseline, you measure the drift, you correct the machine, and you record the result. The next run starts with the previous run’s data. That is how you keep every batch looking like the first one.
Frequently asked questions
How often should I measure ink density during a production run?
Measure at least every roll or every two rolls, whichever comes first. For long runs or high tolerance jobs, measure every single roll. The exact interval depends on your tolerance window and the length of the run.
Can I use a visual check instead of a spectrophotometer?
Visual checks are useful as a final sanity check but cannot replace instrument measurements. The human eye adapts to shifts and misses small changes. A spectrophotometer or densitometer gives you numbers you can compare across batches and shifts.
What should I do if density drifts outside tolerance midway through a batch?
Stop the press immediately. Check the ink supply, clean the rollers if needed, and adjust the feed. Re-print a test strip and re-measure before continuing. Do not release the rolls printed while the drift was present until you confirm the correction worked.
Does substrate lot number matter for consistency?
Yes. Different lots from the same supplier can vary in coating, thickness, and stiffness. Always record the lot number and take a new measurement after each lot change. This isolates material variation from press variation.
How long should I keep batch logs?
Keep them for at least the warranty period of the product and any customer contract duration. For regulated industries, keep them as long as required by internal quality policy. The log is your record of what you measured and when you corrected it.